> ## Documentation Index
> Fetch the complete documentation index at: https://docs.chainstack.com/llms.txt
> Use this file to discover all available pages before exploring further.
# Deploying nodes
> Step-by-step guide to deploying blockchain nodes using Chainstack Self-Hosted, including protocol selection, client configuration, and network options.
This guide explains how to deploy blockchain nodes using Chainstack Self-Hosted.
## Supported deployments
For the full catalog of protocols, networks, clients, client versions, and resource requirements, see [Supported deployments](/docs/self-hosted/supported-clients-and-protocols). It covers Ethereum, Optimism, Base, Unichain, Zora, Polygon, Starknet, TRON, and Bitcoin, with more protocols on the roadmap.
## Resource requirements
Before deploying a node, ensure your infrastructure has sufficient resources available. See [System requirements](/docs/self-hosted/requirements) for detailed specifications.
The Control Panel itself consumes system resources. When planning your infrastructure, account for both the Control Panel overhead and the resources required by the nodes you intend to deploy.
## Deployment wizard
1. Log in to the Control Panel
2. Navigate to **Nodes**
3. Click **Create node** or click the **+** button next to a preset
1. Select a protocol
2. Select a network
Each network ships with a preset that fixes the clients, versions, and resource allocation. Ethereum networks additionally offer a **Light** preset that uses half the CPU and RAM of the standard preset with the same storage, so you can move between tiers without resizing disks.
Pick the preset that matches your goal — the standard preset for production, the Light preset for evaluation on a smaller server. For the exact clients, versions, and resource figures per network, see [Supported deployments](/docs/self-hosted/supported-clients-and-protocols), and size your host per [System requirements](/docs/self-hosted/requirements).
Snapshot-bootstrapped deployments (Ethereum and Optimism Mainnet) temporarily require **2× the steady-state storage**. The node first downloads the snapshot archive, then extracts it into the chain data directory, so both copies coexist on disk until extraction completes. Provision the node's persistent volume at this peak; the volume can be reclaimed or stay sized for headroom once the snapshot archive is removed. See [Initial sync times](#initial-sync-times) below.
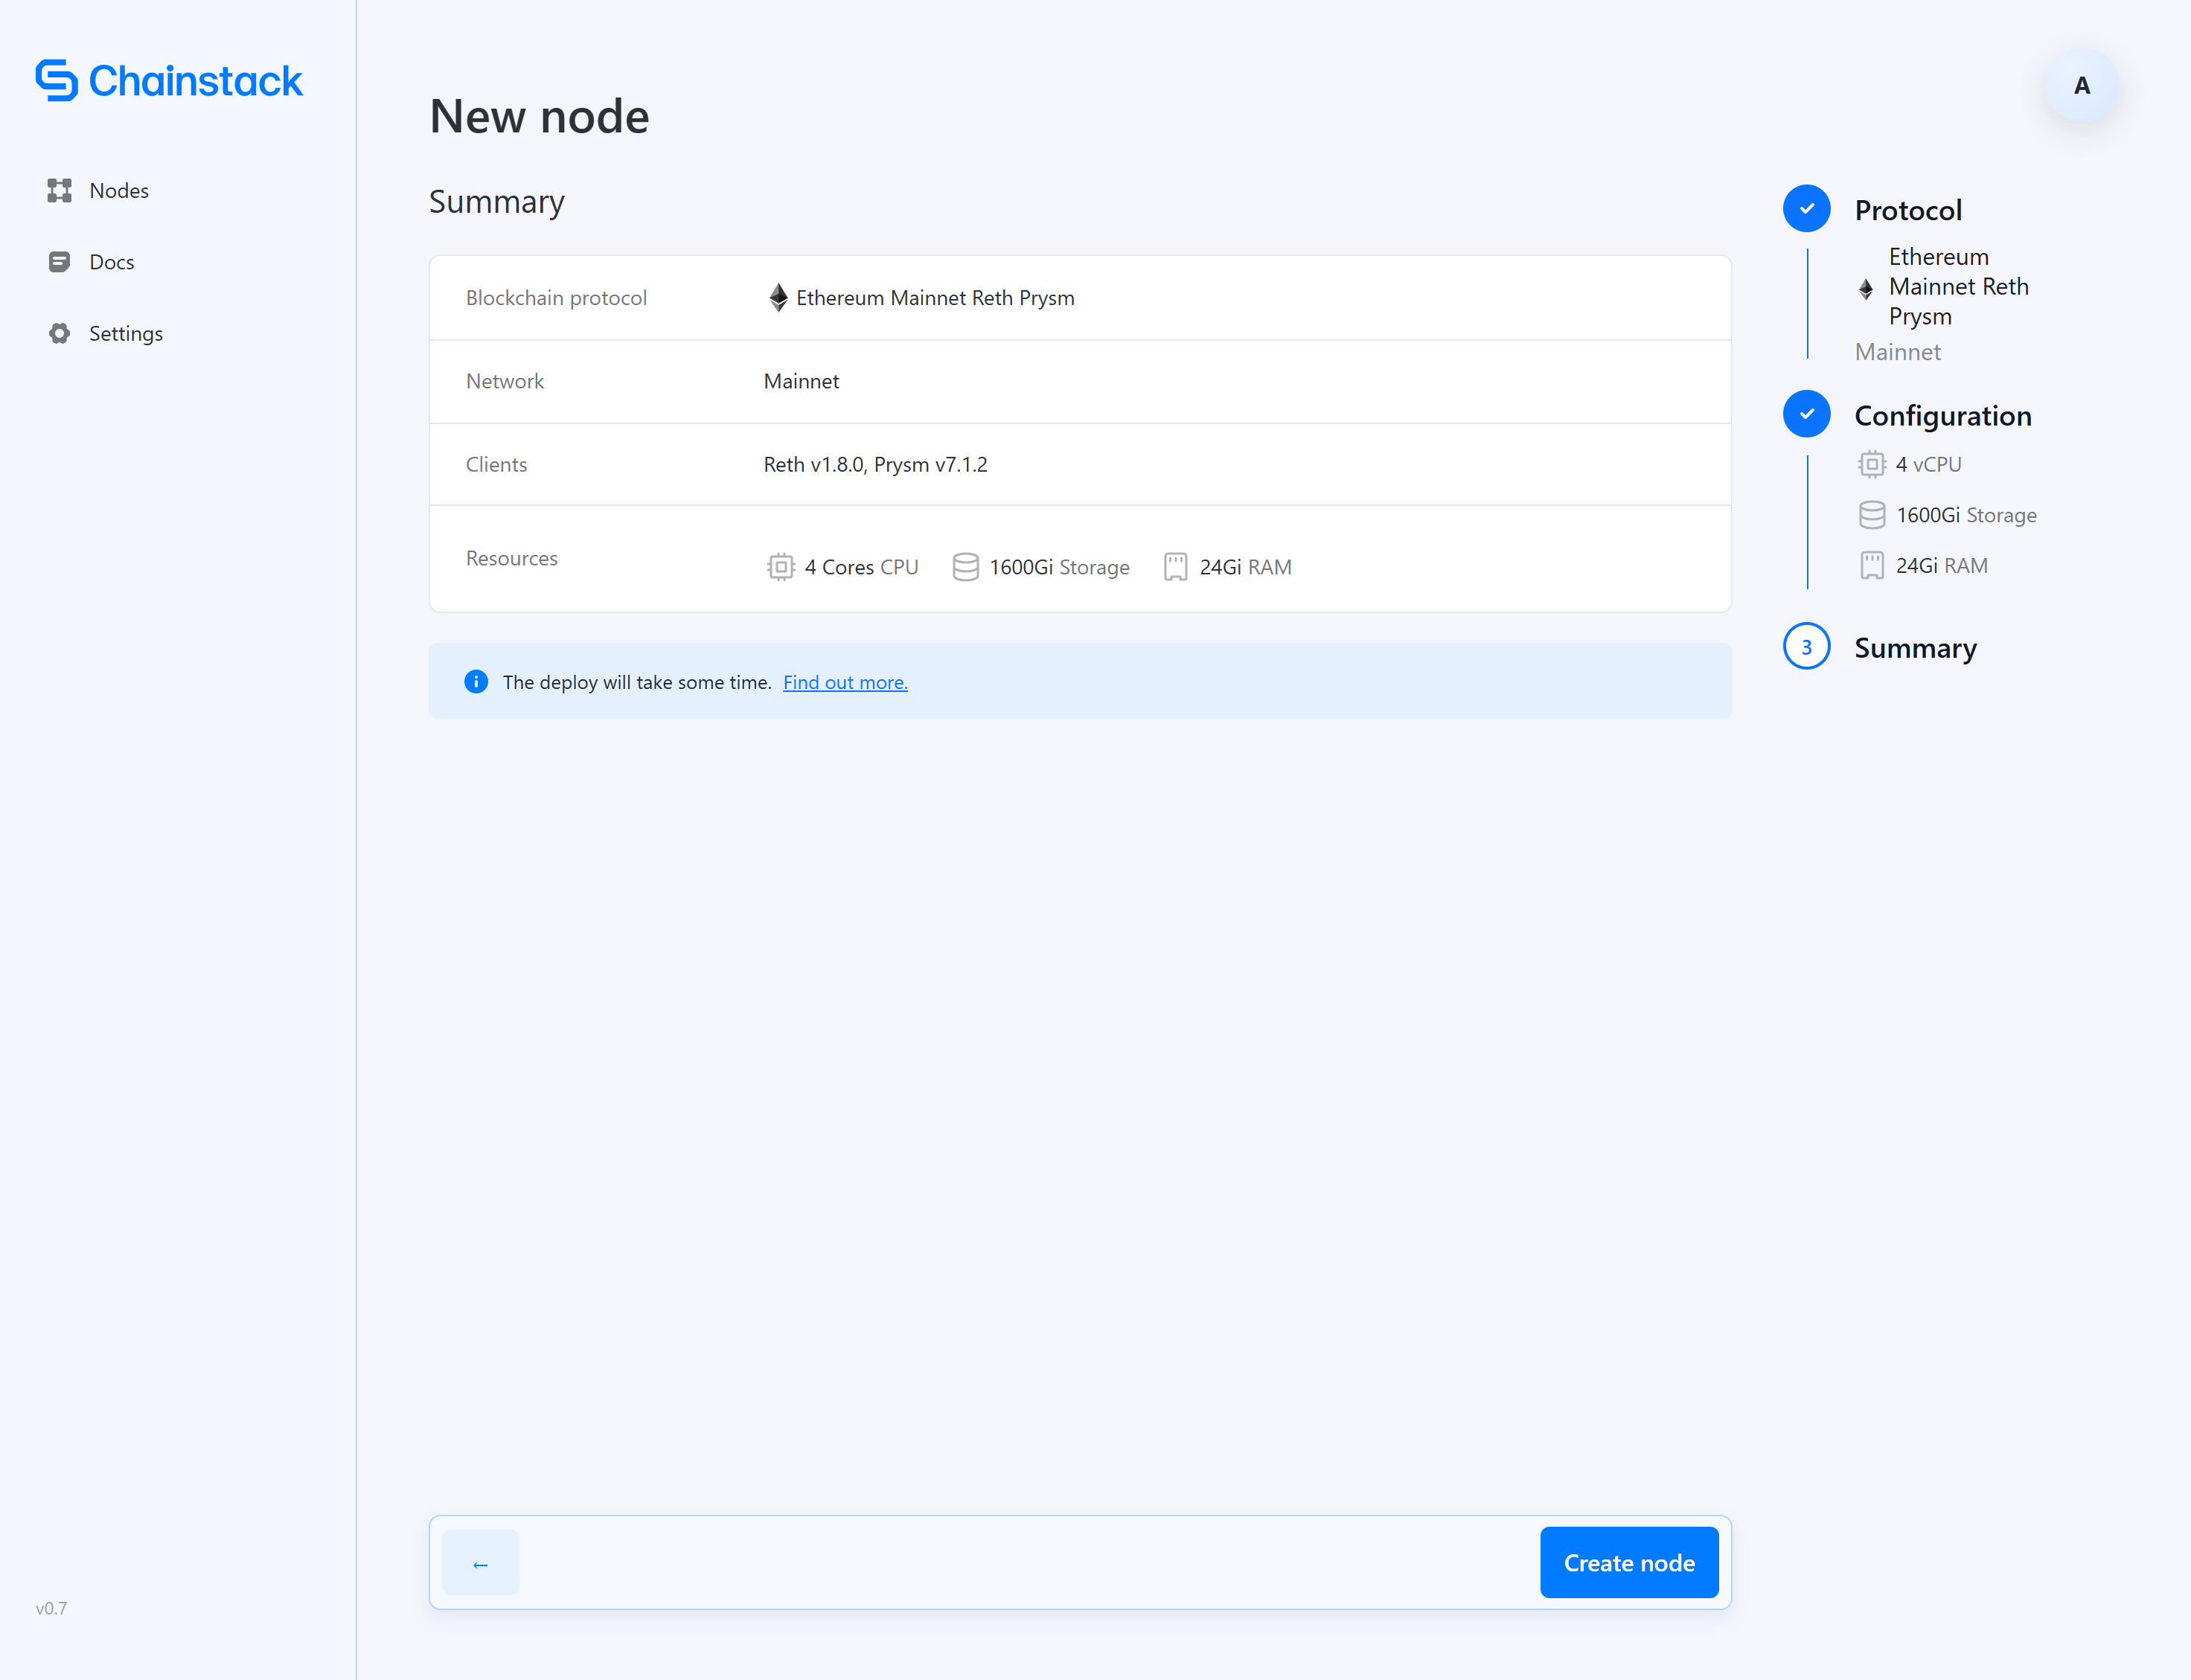
1. Review your configuration
2. Click **Create node** to start the deployment
 ## Deployment process
After initiating deployment, the node goes through several phases:
| Phase | Description | Duration |
| ----------------- | ------------------------------------------------------ | ----------- |
| **Bootstrapping** | Resources are allocated, client software is configured | 2–5 minutes |
| **Running** | Node is deployed and synchronizing with the network | Continuous |
The node shows **Running** status once deployed. Initial bootstrap from the snapshot completes in minutes to hours; the node then catches up to the chain head in the background.
### Initial sync times
Sync times depend on your hardware and network conditions:
| Phase | Approximate time |
| ---------------------- | ------------------------------------ |
| Snapshot bootstrap | Minutes to hours (network dependent) |
| Catch-up to chain head | Continuous |
See [System requirements](/docs/self-hosted/requirements) for specifications and a community-maintained list of hardware recommendations.
## After deployment
Once your node reaches **Running** status:
1. Access the node details to view connection information
2. Start using the node for your applications
## Next steps
* [Managing nodes](/docs/self-hosted/managing-nodes) — Learn about node operations
* [Troubleshooting](/docs/self-hosted/troubleshooting) — Resolve deployment issues
## Deployment process
After initiating deployment, the node goes through several phases:
| Phase | Description | Duration |
| ----------------- | ------------------------------------------------------ | ----------- |
| **Bootstrapping** | Resources are allocated, client software is configured | 2–5 minutes |
| **Running** | Node is deployed and synchronizing with the network | Continuous |
The node shows **Running** status once deployed. Initial bootstrap from the snapshot completes in minutes to hours; the node then catches up to the chain head in the background.
### Initial sync times
Sync times depend on your hardware and network conditions:
| Phase | Approximate time |
| ---------------------- | ------------------------------------ |
| Snapshot bootstrap | Minutes to hours (network dependent) |
| Catch-up to chain head | Continuous |
See [System requirements](/docs/self-hosted/requirements) for specifications and a community-maintained list of hardware recommendations.
## After deployment
Once your node reaches **Running** status:
1. Access the node details to view connection information
2. Start using the node for your applications
## Next steps
* [Managing nodes](/docs/self-hosted/managing-nodes) — Learn about node operations
* [Troubleshooting](/docs/self-hosted/troubleshooting) — Resolve deployment issues