This guide walks you through your first login to Chainstack Self-Hosted and initial configuration.
First login
Finding your credentials
During installation, the bootstrap credentials were generated and saved to a values file:
# List saved values files
ls ~/.config/cp-suite/values/
# View your bootstrap credentials
cat ~/.config/cp-suite/values/cp-control-panel-*.yaml | grep CP_AUTH_BOOTSTRAP_PASSWORD
You’ll find:
| Setting | Default value |
|---|
| Username | admin |
| Password | Auto-generated (in values file) |
Accessing the login page
Open your browser and navigate to the Control Panel URL. The URL depends on how you exposed the service:
| Exposure method | URL |
|---|
| LoadBalancer | http://<EXTERNAL-IP> |
| NodePort | http://<NODE-IP>:<NODE-PORT> |
| Ingress | http://your-configured-hostname |
| Port forward | http://<SERVER-IP>:8080 |
You’ll see the Chainstack Self-Hosted login page:
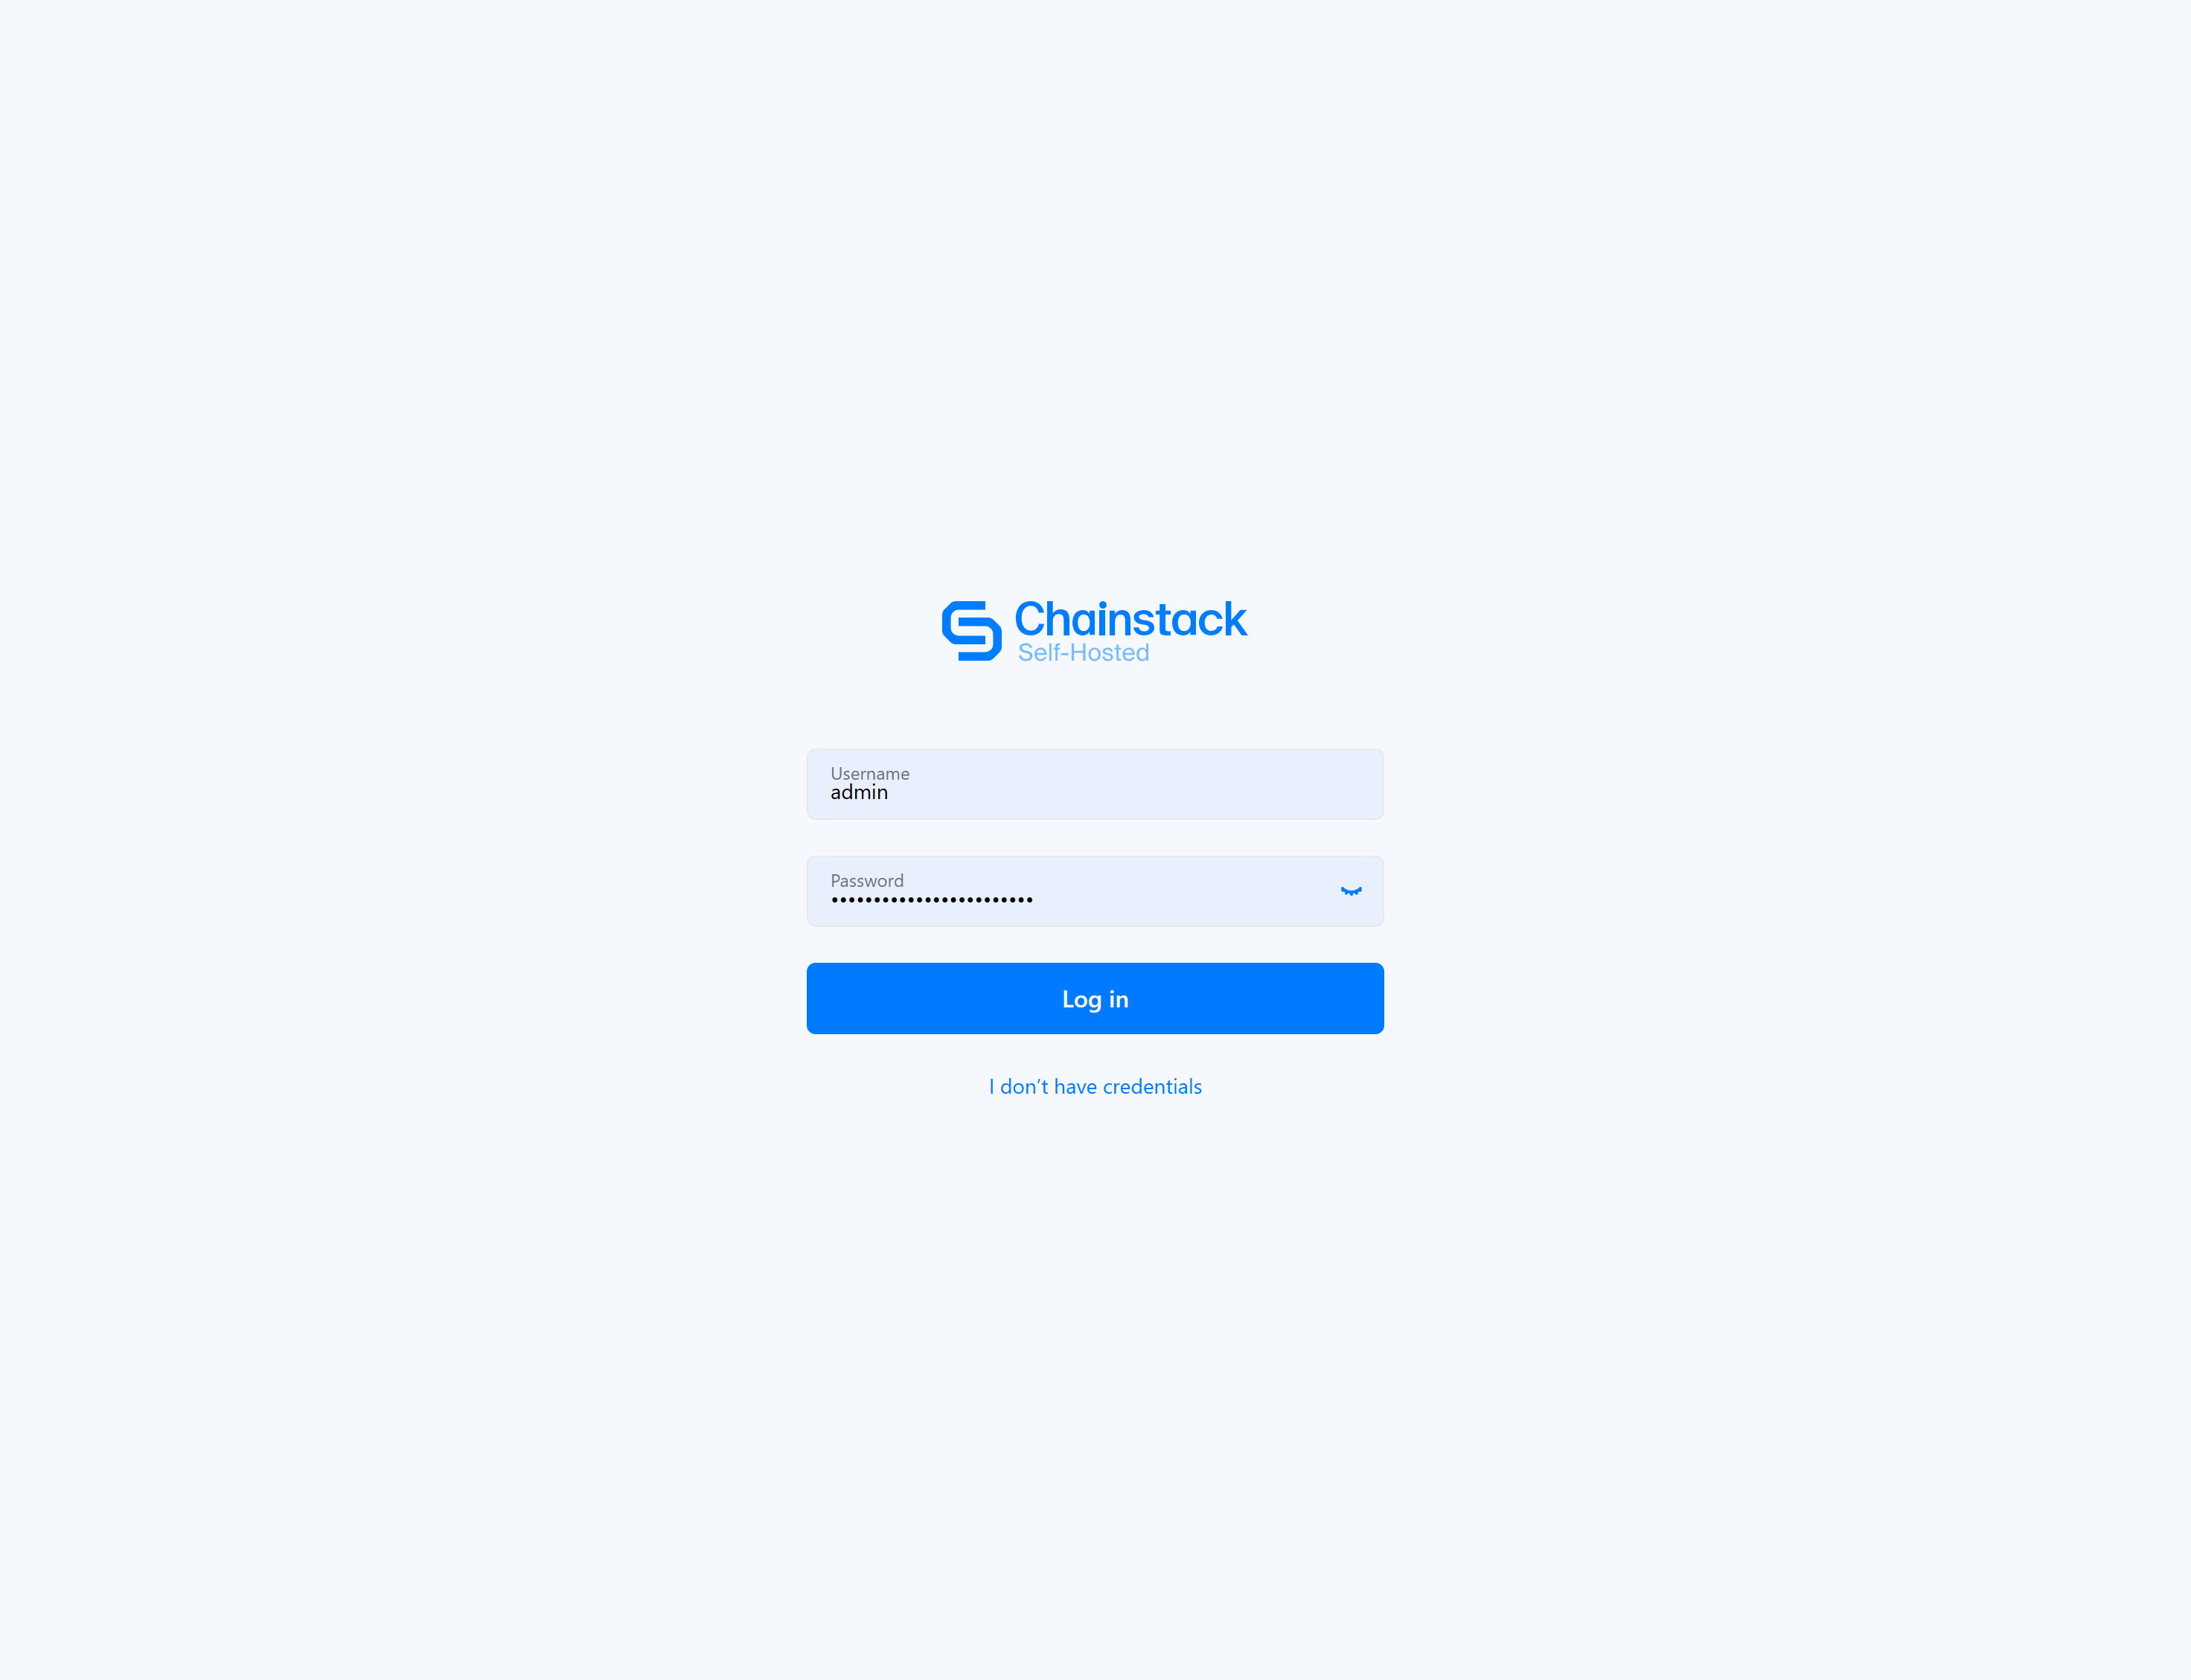
Logging in
- Enter
admin in the Username field
- Enter the generated password from your values file in the Password field
- Click Log in
Initial configuration
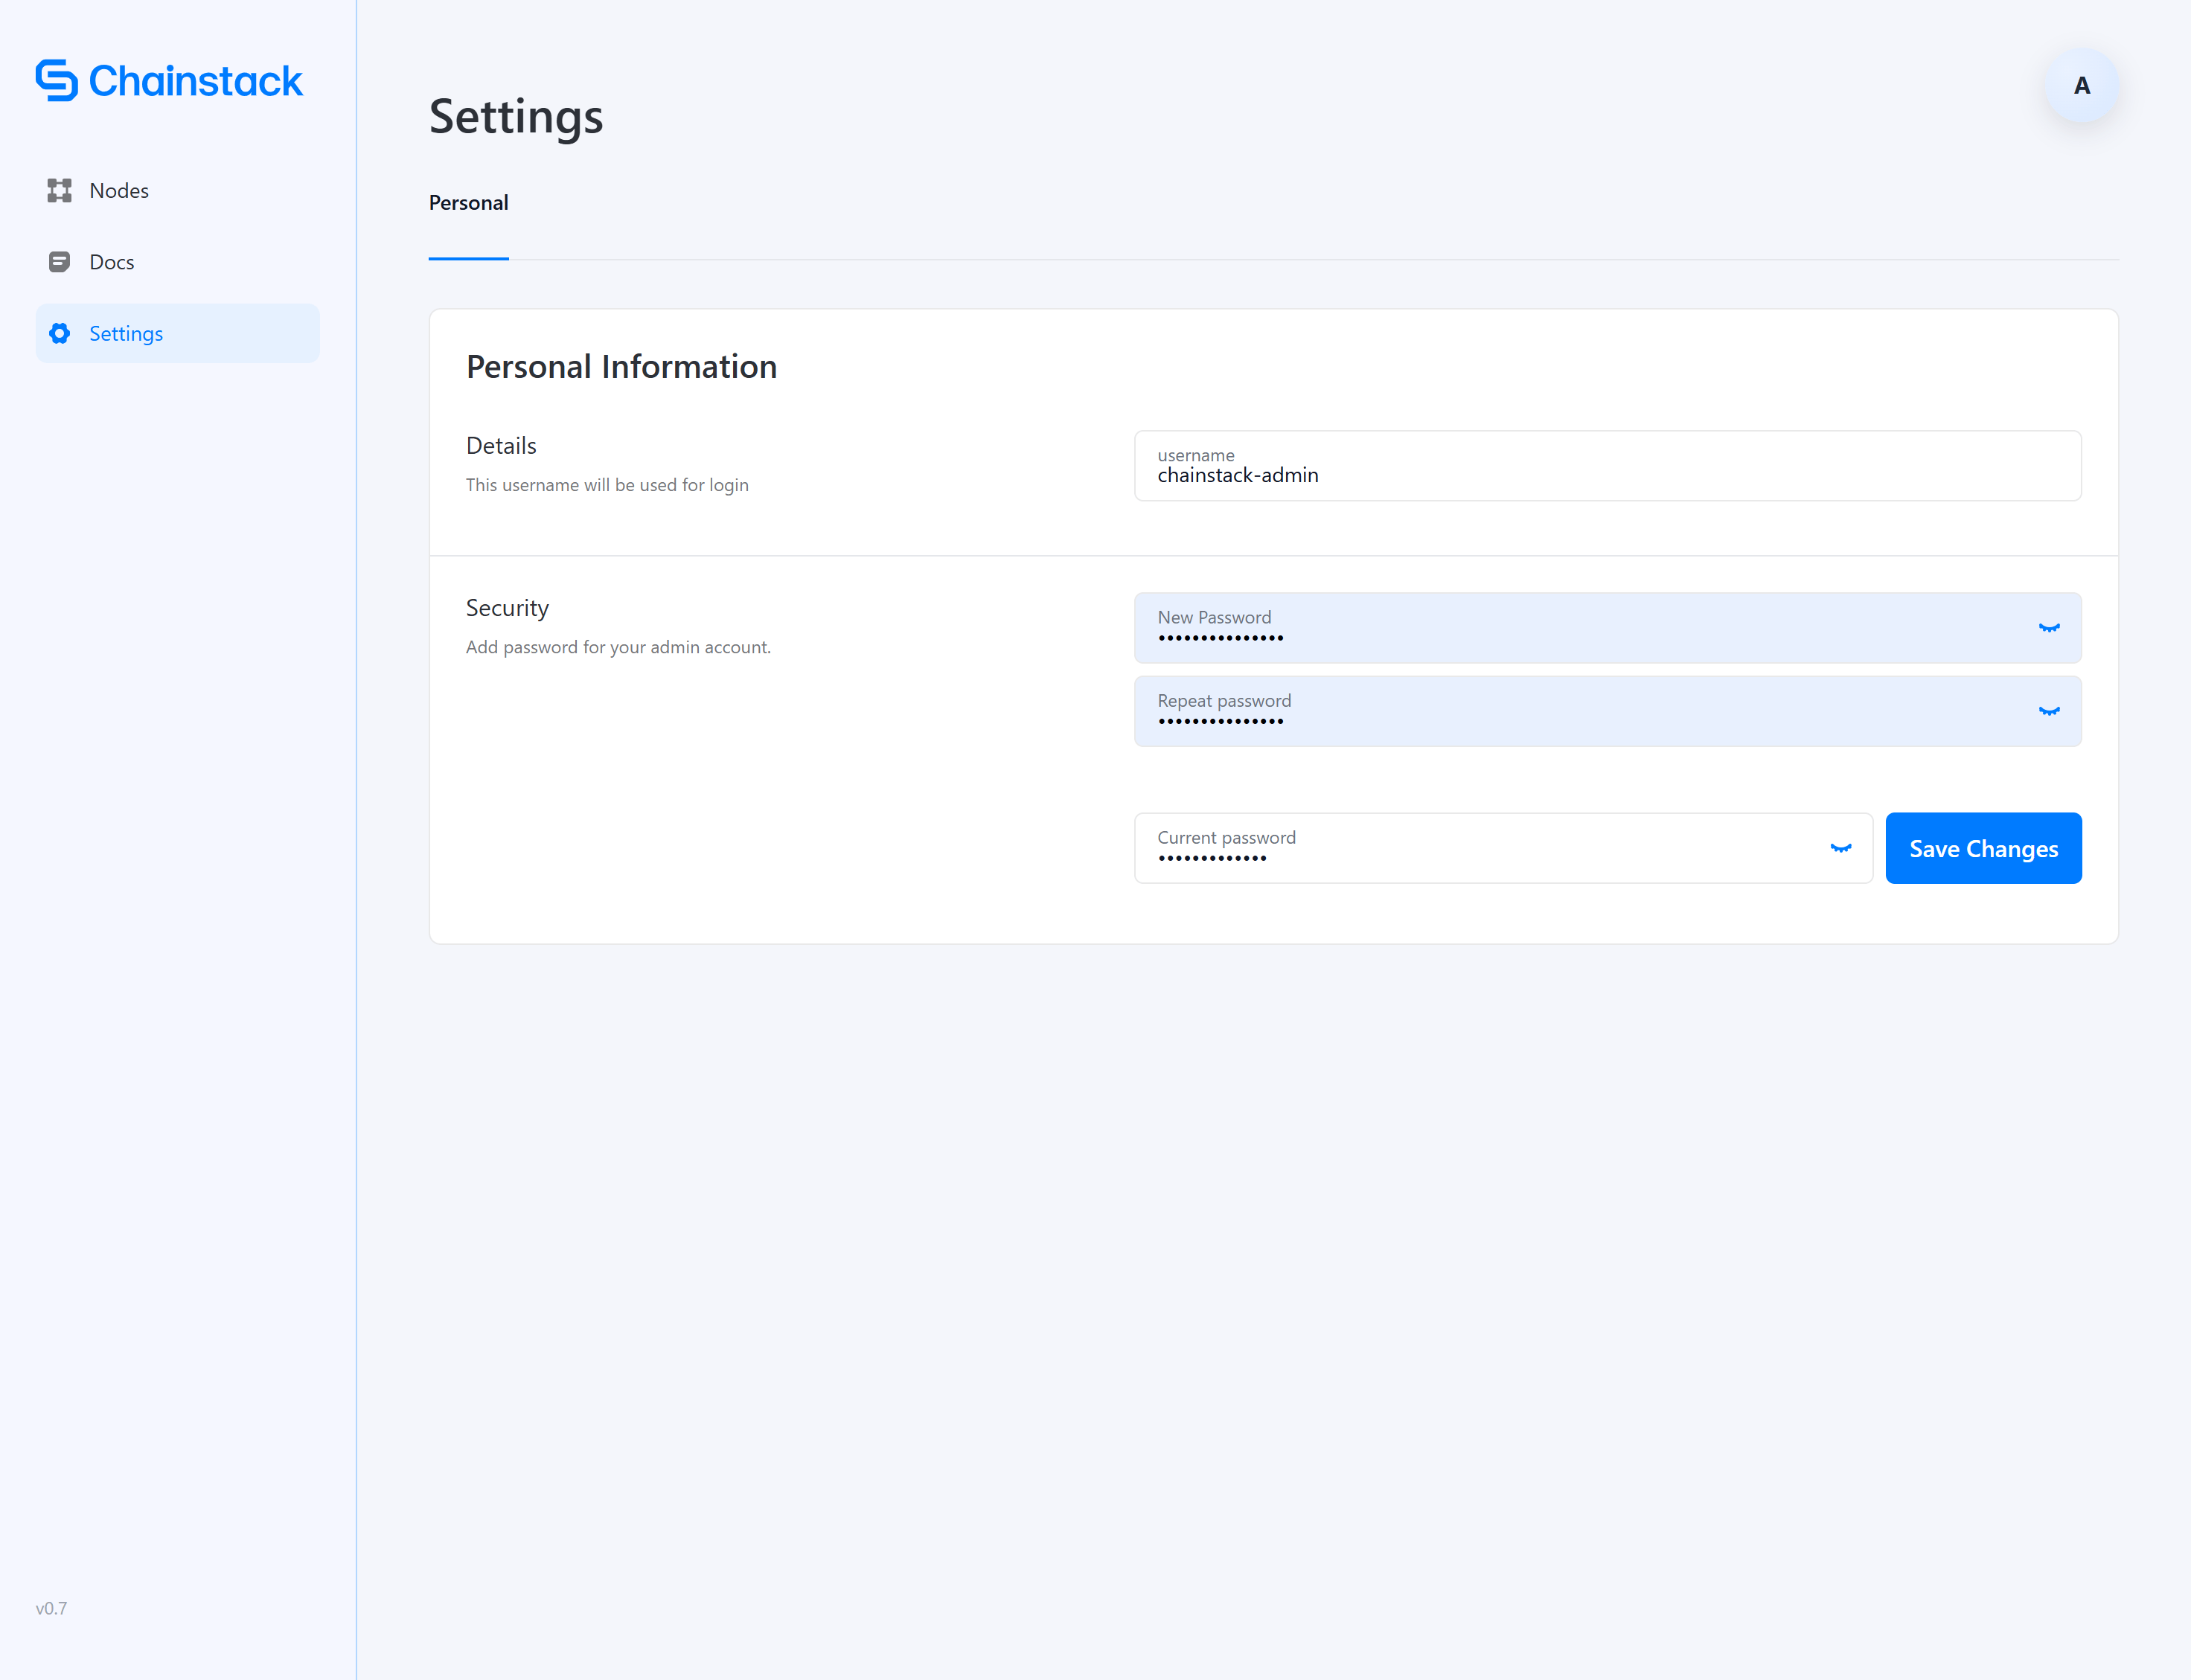
After your first login, we recommend completing these configuration steps.
Update admin profile
For security, update your admin credentials immediately after first login.
- Click your username or profile icon in the top-right corner
- Select Settings
- Update the following:
| Field | Recommendation |
|---|
| Username | Change from default admin to a unique username |
| Password | Set a strong password |
After changing your password, the original password in the values file is no longer valid. Store your new credentials securely.
Understanding the interface
The Chainstack Self-Hosted interface provides access to all node management functions.
Main sections
| Section | Purpose |
|---|
| Nodes | List, deploy, and manage blockchain nodes |
| Docs | Link to Chainstack Self-Hosted documentation |
| Settings | User profile and credentials |
Node status indicators
When viewing nodes, you’ll see status indicators:
| Status | Description |
|---|
| Pending | Node resources are being allocated and configured |
| Running | Node is deployed and operational |
| Error | Node encountered an issue |
Next steps
With your admin account configured, you’re ready to:
- Deploy your first node — Deploy a blockchain node
- Manage nodes — Learn node operations and monitoring
Troubleshooting first login
Cannot access login page
-
Verify the UI service is exposed correctly:
kubectl get svc -n control-panel | grep ui
-
Check that the UI pod is running:
kubectl get pods -n control-panel | grep ui
-
Check pod logs for errors:
kubectl logs -l app.kubernetes.io/name=cp-ui -n control-panel
Invalid credentials
-
Double-check the password from your values file — copy/paste to avoid typos
-
Ensure you’re using the
admin username
-
Check that the auth service is running:
kubectl get pods -n control-panel | grep auth
Page loads but shows errors
-
Check all pods are running:
-
View logs for the deployments-api:
kubectl logs -l app.kubernetes.io/name=cp-deployments-api -n control-panel
For additional help, see the Troubleshooting guide.